
Assign Fields to Field Selection Groups:-
This configuration allows one to make some fields optional, hidden, or mandatory in the master record. Follow the steps given below to set this configuration.
Path to Assign Fields to Field Selection Groups
IMG ⇒ Logistic General ⇒ Material Master ⇒ Field Selection ⇒ Assign Fields to Field Selection Groups
TCode: OMSR
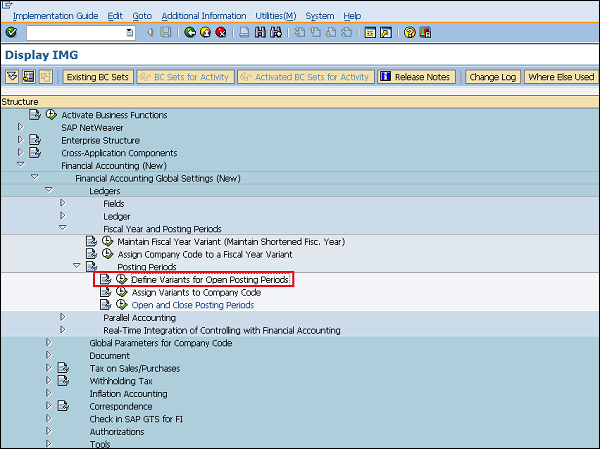
Step 1 − On the Display IMG screen, select Assign Fields to Field Selection Groups by following the above path.
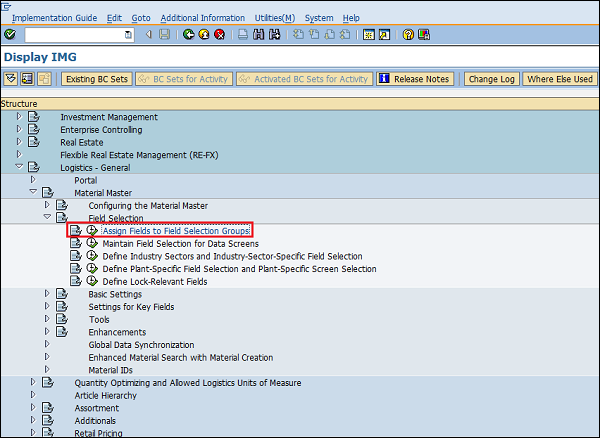
Step 2 − Select the entry.
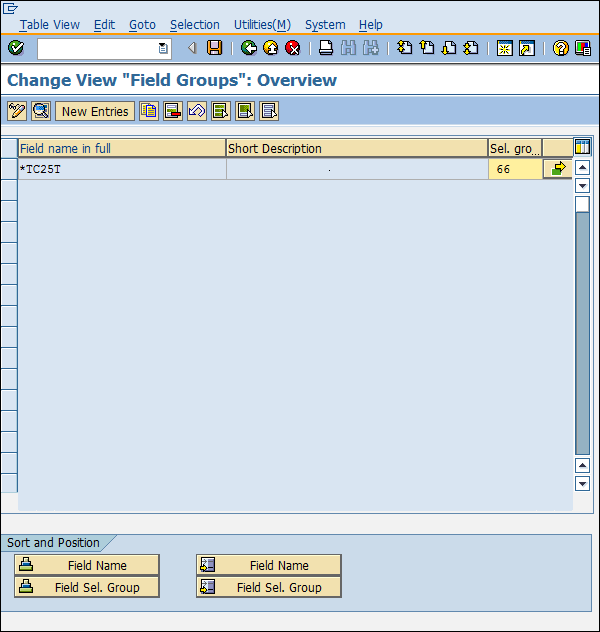
Step 3 − If you wants you can change the properties of the fields as hidden, display, required entry, or optional entry. Click on Save. Field Groups are now set with the desired field entries.
Maintain Field Selection for Data Screens:-
This configuration allows one to make some data screens in the master data as optional, hidden, or mandatory. Follow the steps given below to set this configuration.
Path to Maintain Field Selection for Data Screens
IMG ⇒ Logistic General ⇒ Material Master ⇒ Field Selection ⇒ Maintain Field Selection for Data Screens
TCode: OMS9
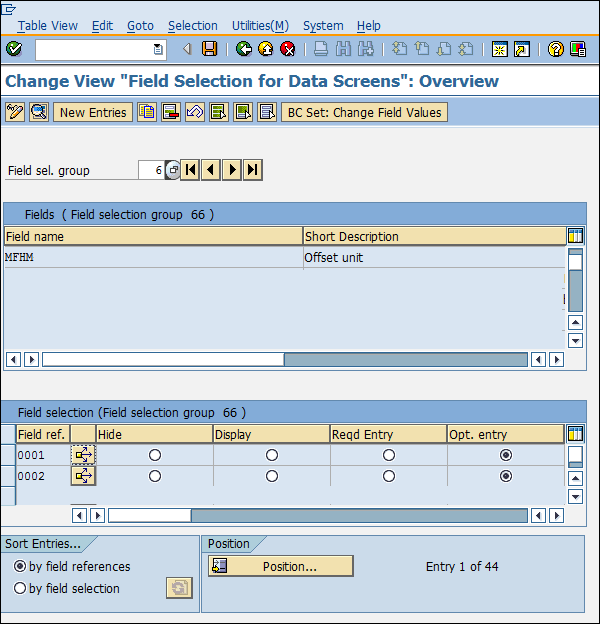
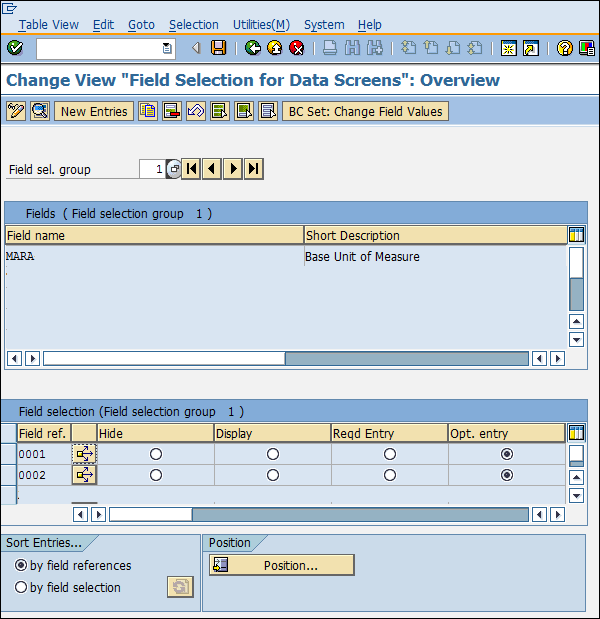
Step 1 − On the Display IMG screen, select Maintain Field Selection for Data Screens by following the above path.

Step 2 − Select the field selection group in which you want to make changes. Here you can make changes in the field reference as hidden, display, required entry, or optional entry. Click on Save. Field selection for data screens is now maintained.
Maintain Company Codes for Materials Management
This configuration allows one to maintain company codes with a period along with the fiscal year. Follow the steps given below to set this configuration.
Path to Maintain Company Codes for Materials Management
IMG ⇒ Logistic General ⇒ Material Master ⇒ Basic Settings ⇒ Maintain Company Codes for Materials Management
TCode: OMSY
Step 1 − On the Display IMG screen, select Maintain Company Codes for Materials Management by following the above path.
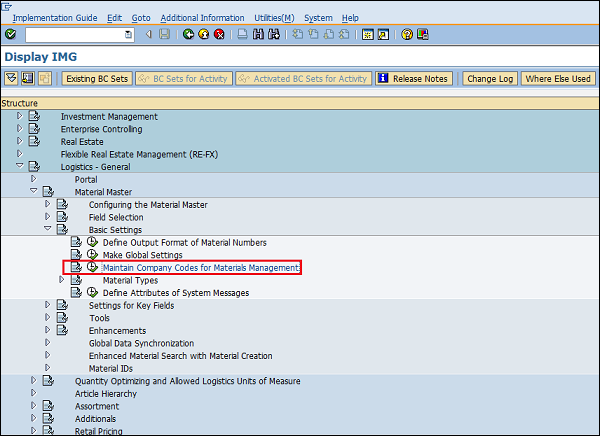
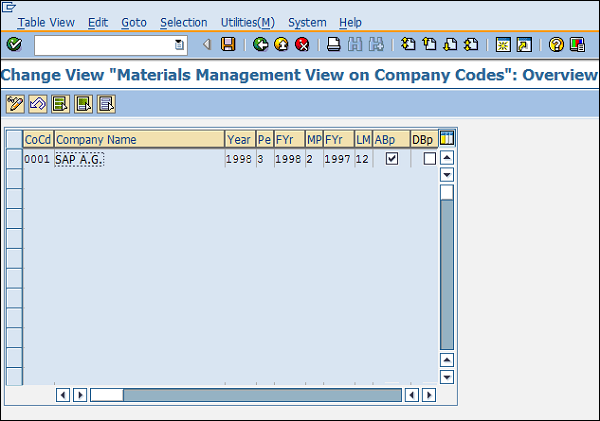
Step 2 − Provide details such as name, company code, along with the fiscal year and the period for that. Click on Save. Company code is now maintained for materials management.
Define Attributes of System Messages
Sometimes the system does not allow us to save a document when its information is incomplete. In such cases, the system issues some messages to indicate the probable cause of error. These system messages can be set up by following the steps given below.
Path to Define Attributes of System Messages
IMG ⇒ Logistic General ⇒ Material Master ⇒ Basic Settings ⇒ Define Attributes of System Messages
TCode: OMT4
Step 1 − On the Display IMG screen, select Define Attributes of System Messages by following the above path.
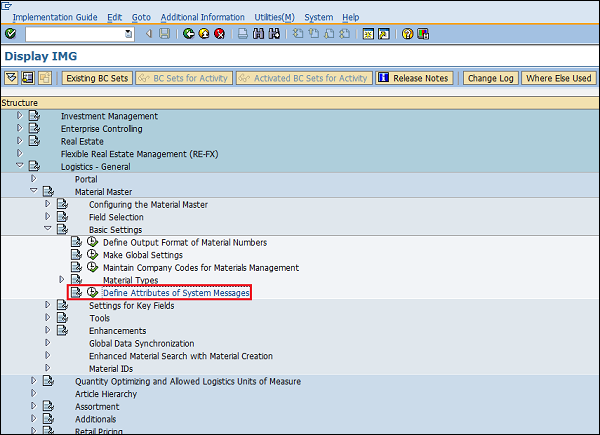
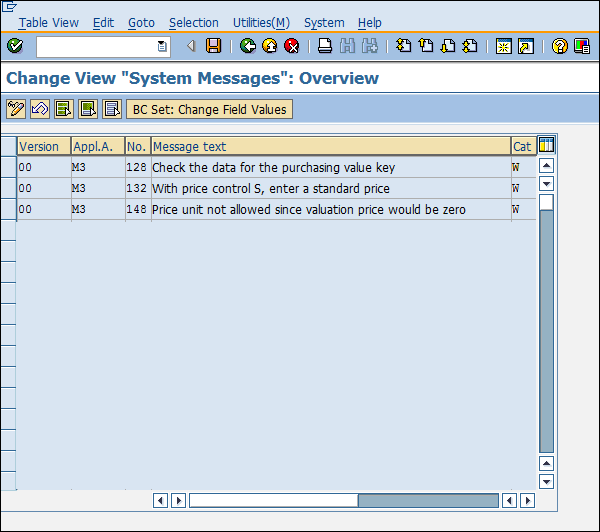
Step 2 − Here you can maintain type of message (warning or error), message number along with the description of message. Click on Save. System messages are now maintained.
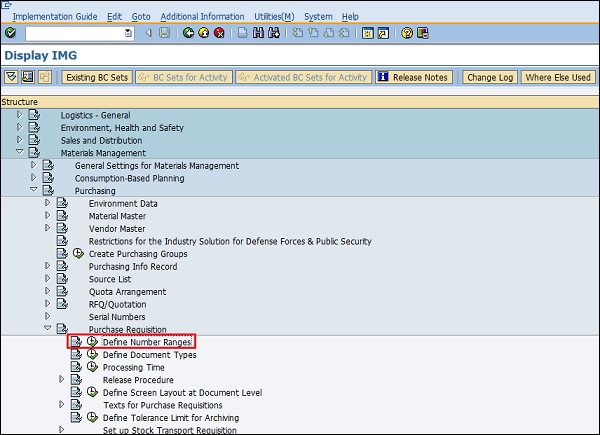
Define Number Ranges – Purchase Requisition
When we create a purchase requisition, every requisition is recognized by a unique number that is known as the purchase requisition number. We can define a number range manually, otherwise the system can automatically assign the same. Follow the steps given below to define a number range for purchase requisition.
Path to Define Number Ranges
IMG ⇒ Materials Management ⇒ Purchasing ⇒ Purchase Requisition ⇒ Define Number Ranges
TCode: OMH7
Step 1 − On the Display IMG screen, select Define Number Ranges by following the above path.
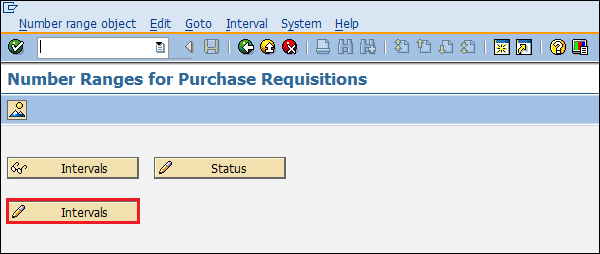
Step 2 − Select edit mode of Intervals tab.
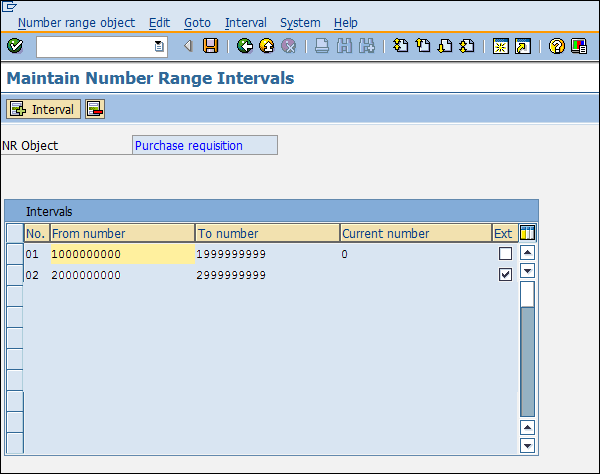
Step 3 − Here you can maintain a number range accordingly. Then click on Save. Number range for purchase requisition is now maintained.
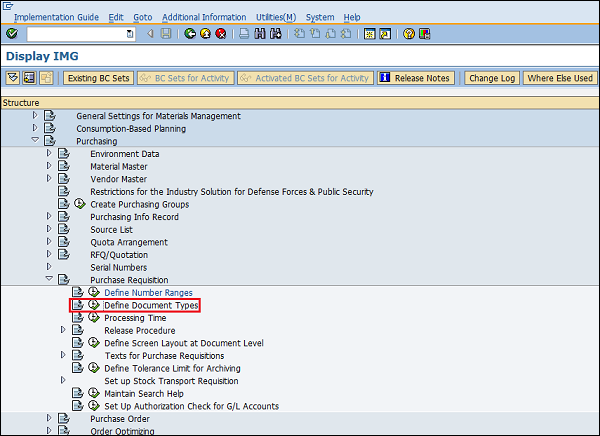
Define Document Types - Purchase Requisition
Different types of documents are created for purchase requisition. Follow the steps given below to maintain document types for purchase requisition.
Path to Define Document Types
IMG ⇒ Materials Management ⇒ Purchasing ⇒ Purchase Requisition ⇒ Define Document Types
Step 1 − On the Display IMG screen, select Define Document Types by following the above path.
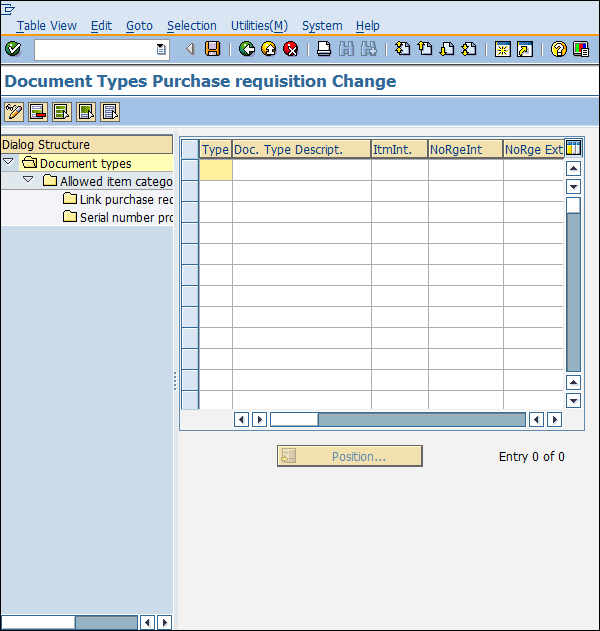
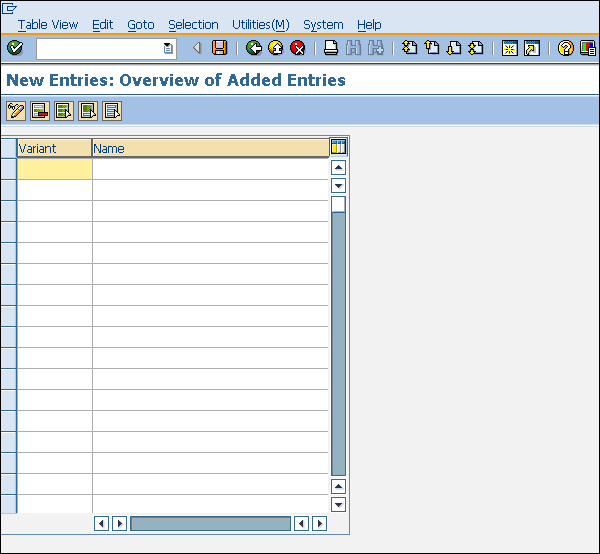
Step 2 − Click New Entries.
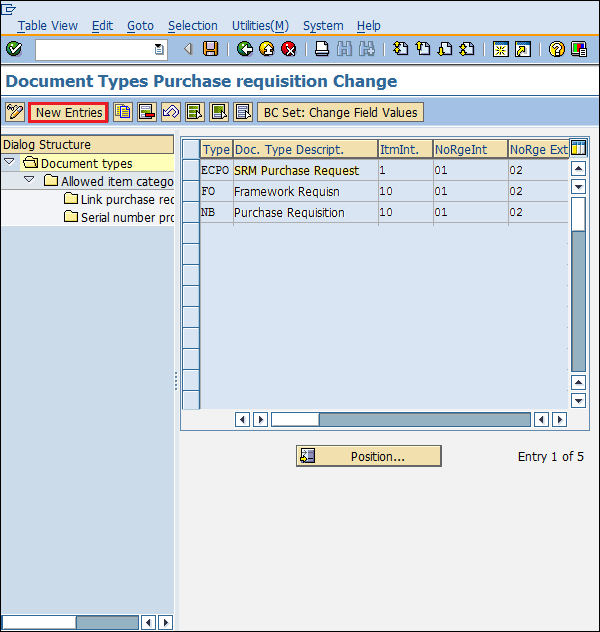
Step 3 − Provide details such as the name of the document type with its description. Click on Save. Document types for purchase requisition are now defined.
Define Number Ranges – RFQ/Quotation
When we create RFQ/Quotation, every quotation is recognized by a unique number known as quotation number. We can define a number range manually, otherwise the system can automatically assign the same. Follow the steps given below to define a number range for RFQ/Quotation.
Path to Define Number Ranges
IMG ⇒ Materials Management ⇒ Purchasing ⇒ RFQ/Quotation ⇒ Define Number Ranges
TCode: OMH6
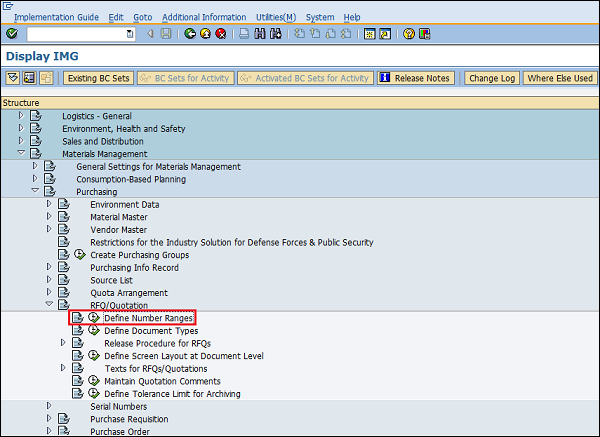
Step 1 − On the Display IMG screen, select Define Number Ranges by following the above path.
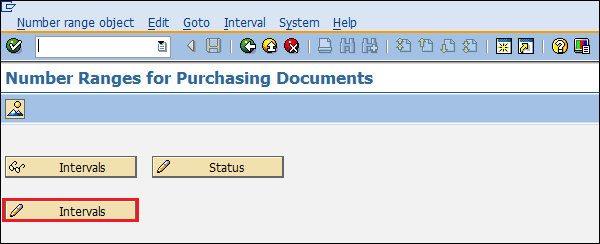
Step 2 − Select edit mode of Intervals tab.
Step 3 − Here you can maintain a number range accordingly. Then click on Save. Number range for RFQ/Quotation is now maintained.

Define Document Types - RFQ/Quotation
Different types of documents are created for RFQ/Quotation. Follow the steps given below to maintain document types for RFQ/Quotation.
Path to Define Document Types
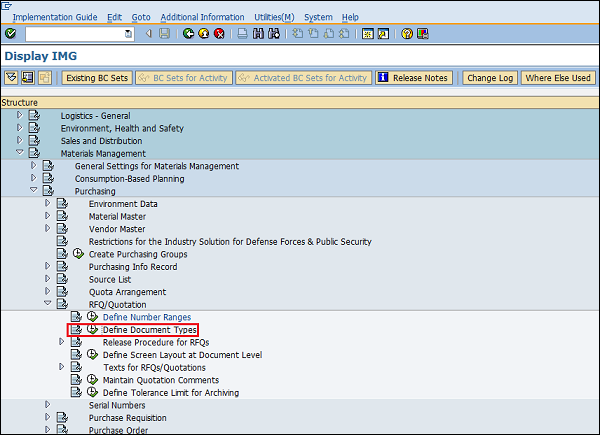
IMG ⇒ Materials Management ⇒ Purchasing ⇒ RFQ/Quotation ⇒ Define Document Types
Step 1 − On the Display IMG screen, select Define Document Types by following the above path.
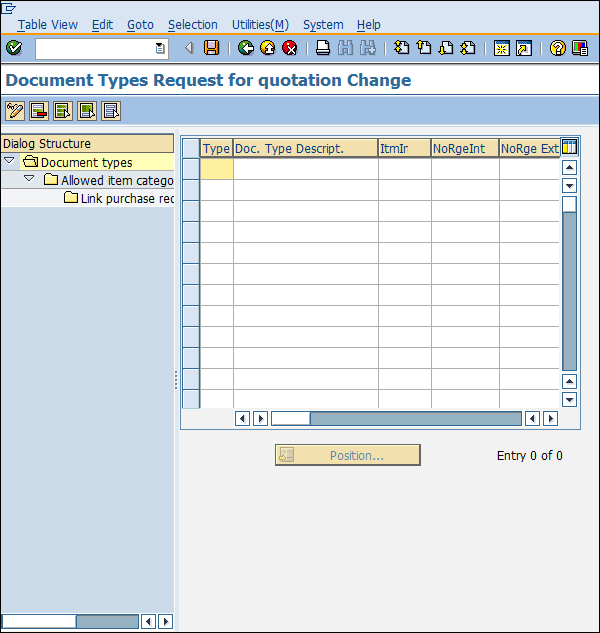
Step 2 − Click New Entries.
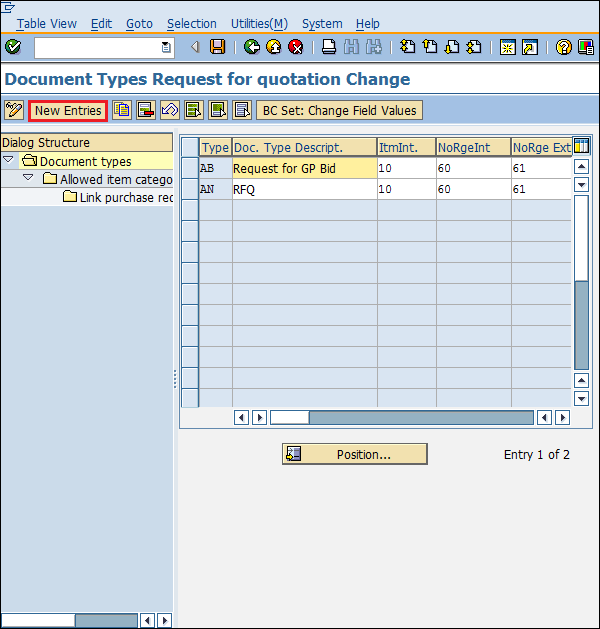
Step 3 − Provide details such as document type with its description. Click on Save. Document types for RFQ/Quotation are now defined.


